Chapter 1: Setting up the environment
Before we dive in to building extensions we’ll need to do some set up.
Step 1: Create your Anvil app and add the trexjacket dependency
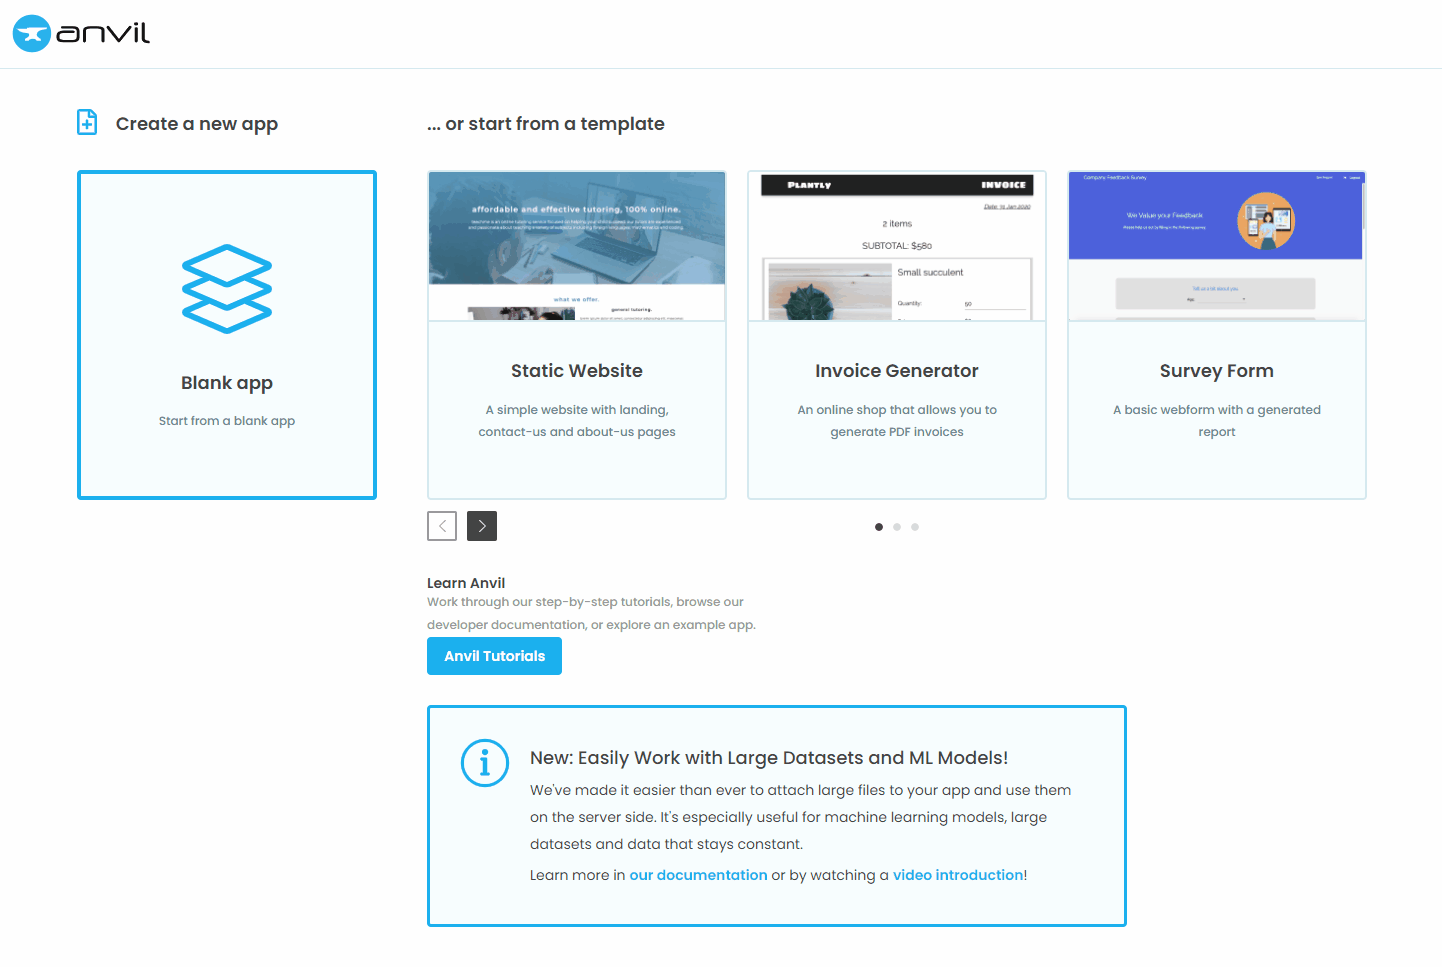
First log in to Anvil, click “Create a new app - Blank App”, and choose “Tableau Extension”. Give your App a descriptive name by choosing the “Settings” icon (gear) on the left side and modifying the “App Name” text box.
Now that we have our Anvil app created, let’s add the trexjacket dependency. To add the dependency, go to Settings > Dependencies and add the following third party token: 4WJSBYGUAK63RAJO.
Step 2: Create your Tableau Dashboard
Normally this would be a step you complete on your own, but we’ve created a starter workbook avaiable for download. Click here to download the Tableau dashboard your application will extend off.
If you’re brand new to Tableau, Tableau’s Desktop Tutorial has sections which will teach you everything you need to connect your data and make wonderful.
Step 3: Connect your Anvil app to your Tableau dashboard using a trex file
For our Tableau Dashboard to communicate with out Anvil app, we need to create a .trex file. The .trex file allows us to add our Anvil app into our dashboard as an extension.
To generate a .trex file:
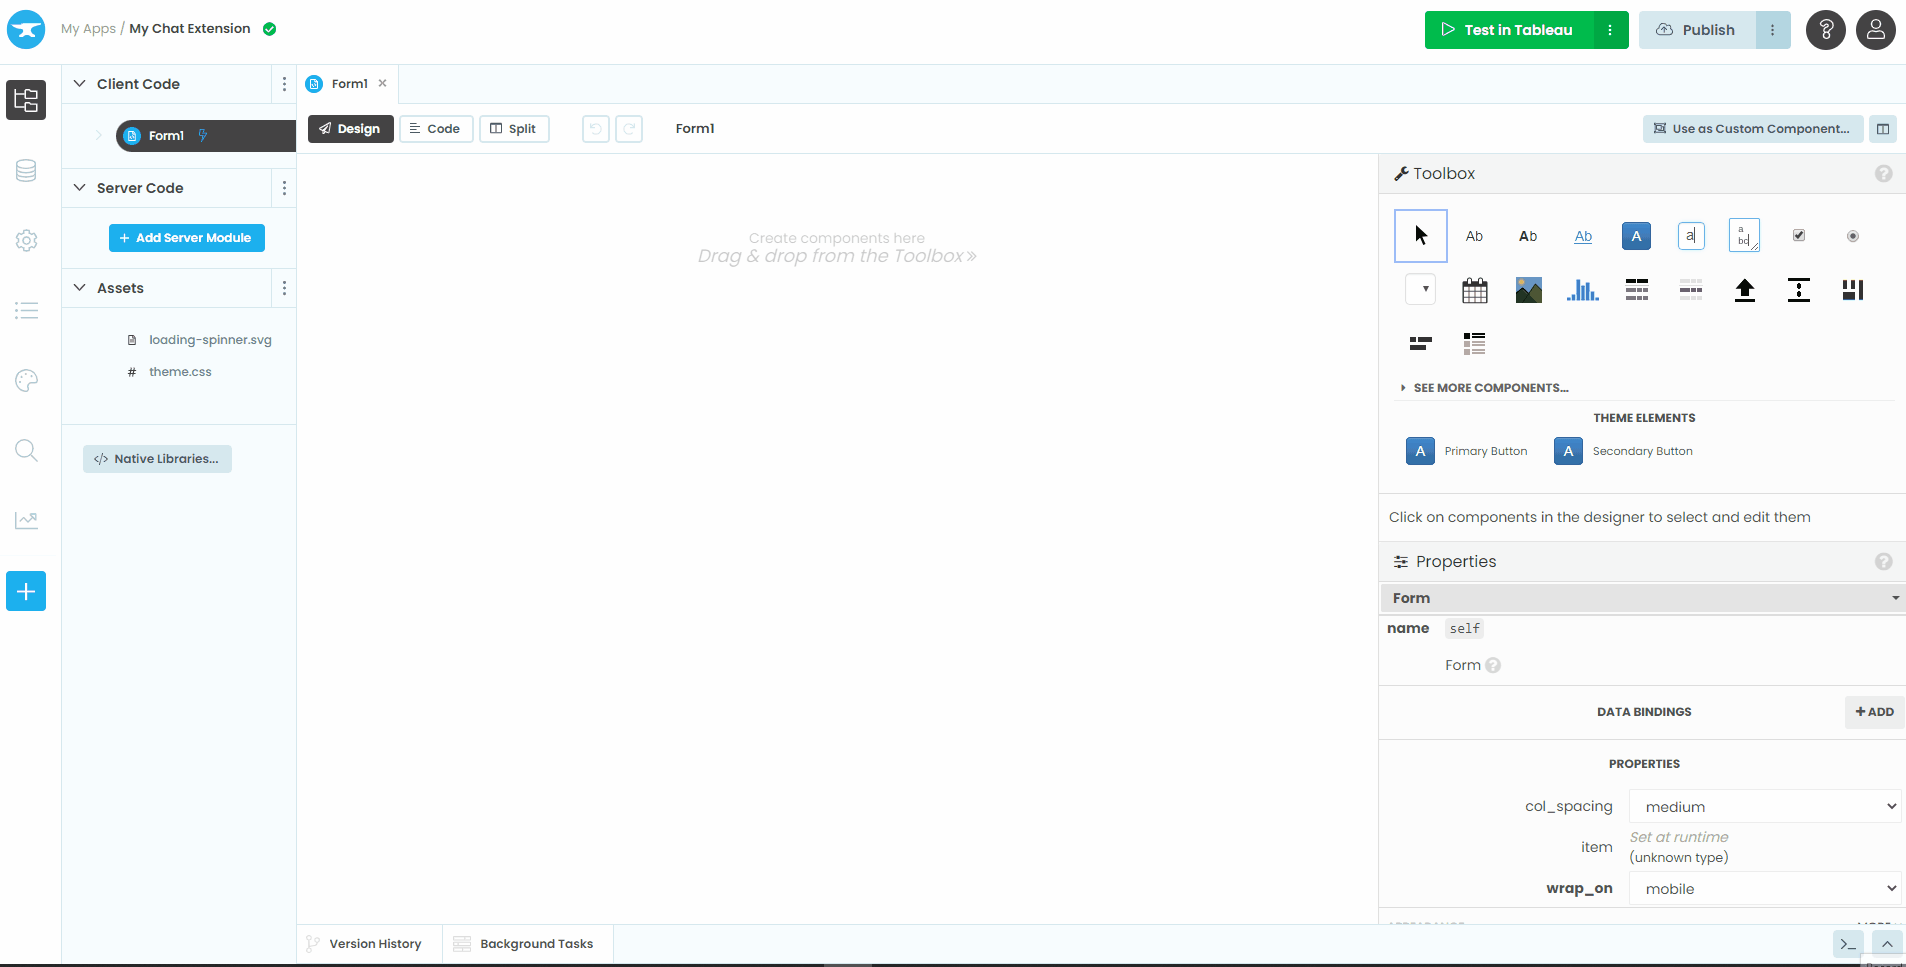
Click the green “Test in Tableau” button in the top right of our screen
Click “Click here to download the manifest file for your extension” in Step 1. Steps 2 and forward are relevant if you plan to deploy your extension to Tableau Server, but for this tutorial we’ll just do step 1.
Once the
.trexfile has downloaded, open your Tableau Dashboard and locate the “Extension” button in the Objects pane.Click and drag this button on to the dashboard to add the extension.
A dialogue box named “Add an Extension” will open. Click “Access Local Extensions” and select the
.trexfile from the second step.Accept the dialogue by clicking the blue button.
And we’re done! In the next chapter we’ll start interacting with our dashboard with Anvil X